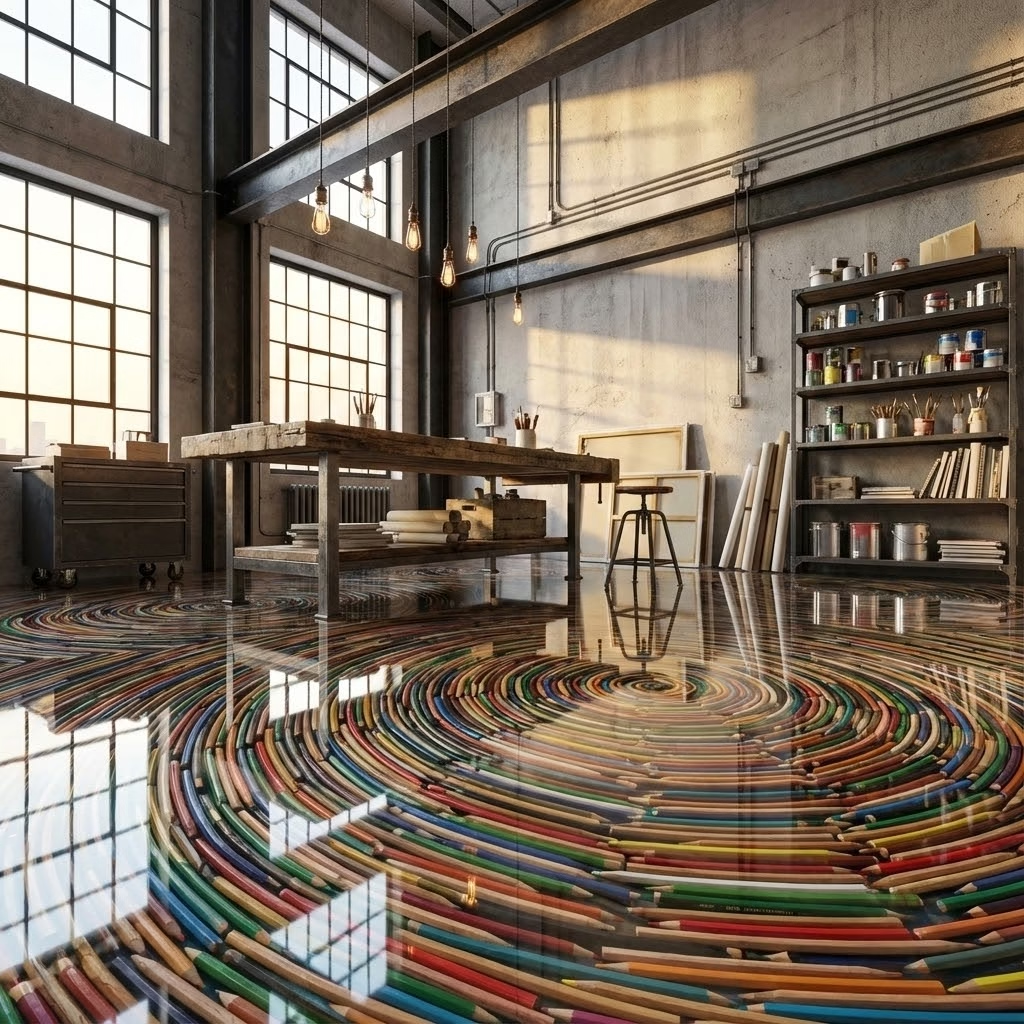
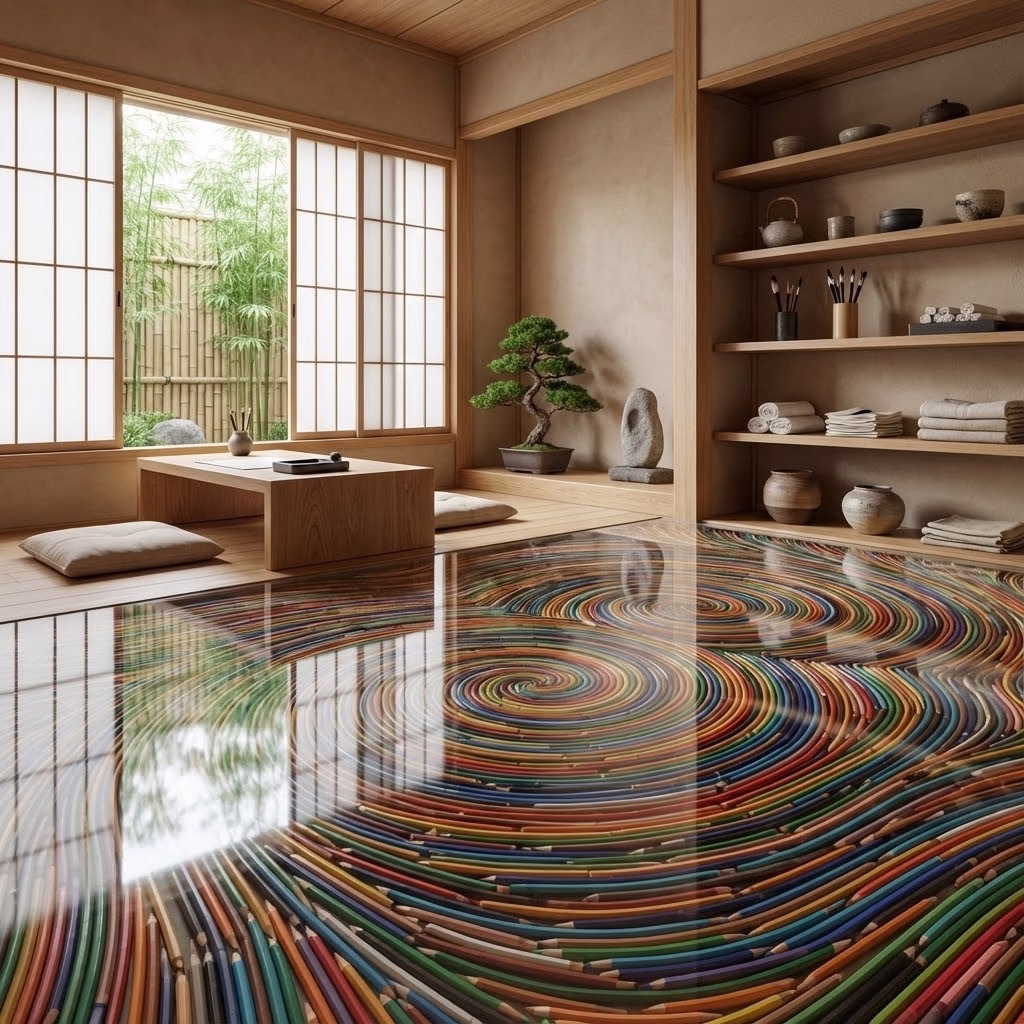
What Is a Pencil Epoxy Floor?
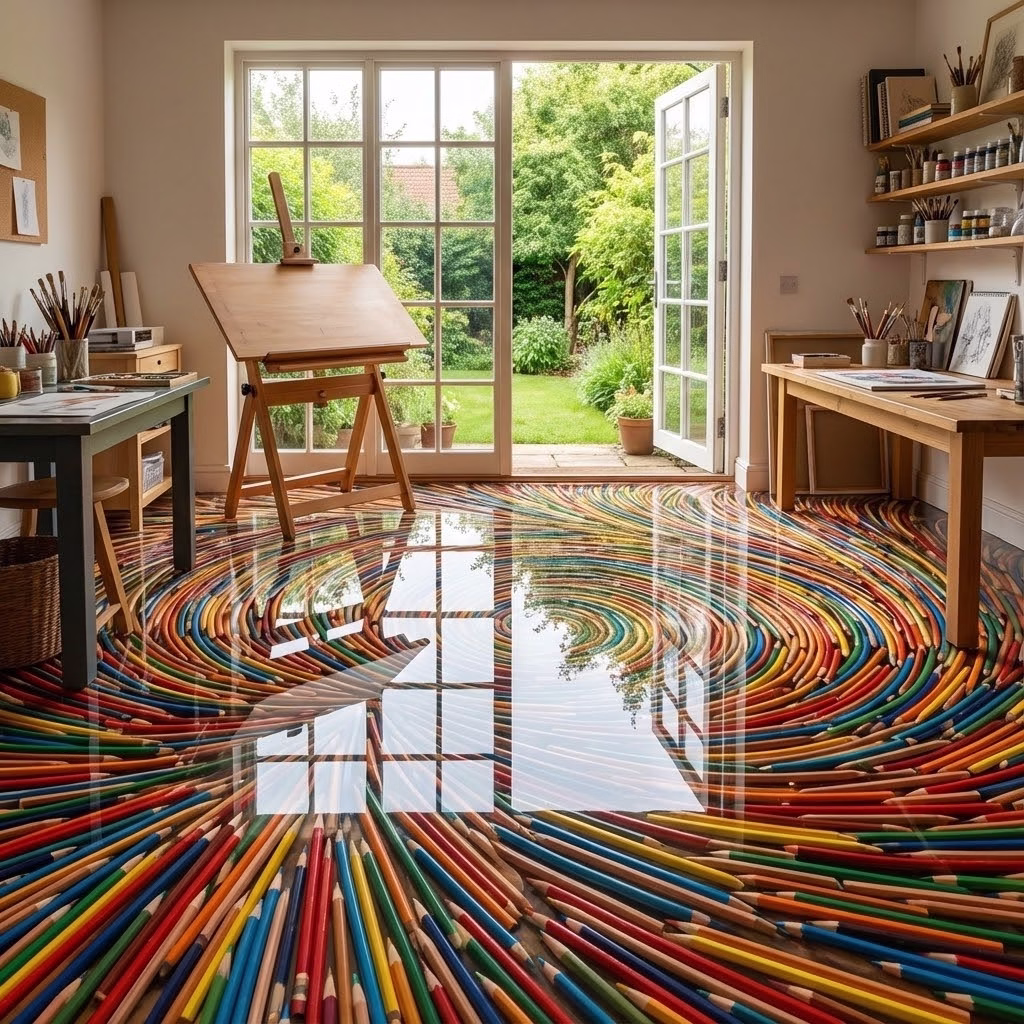
A pencil epoxy floor is a stunning, artistic flooring technique where colored pencils are arranged in creative patterns and sealed beneath layers of crystal-clear epoxy resin. This innovative flooring design creates a unique, eye-catching surface that transforms ordinary rooms into conversation pieces. The result is a smooth, durable, and completely customizable floor that showcases the vibrant colors and geometric beauty of pencils suspended in glass-like resin.
Why Pencil Epoxy Floors Are Taking Over Social Media

Pencil epoxy flooring has exploded in popularity on platforms like Instagram, Pinterest, and TikTok, captivating homeowners and designers with its mesmerizing visual appeal. The combination of colorful pencils arranged in intricate patterns, the depth created by multiple epoxy layers, and the satisfaction of watching the transformation process has made this flooring trend a viral sensation. Beyond aesthetics, pencil epoxy floors represent creativity, personalization, and the courage to break from traditional flooring conventions.
Benefits of Pencil Epoxy Flooring

Unique Artistic Expression: No two pencil epoxy floors are identical. You control the color scheme, pattern, density, and overall design, creating a truly one-of-a-kind floor that reflects your personality and style.
Exceptional Durability: Once sealed with high-quality epoxy resin, pencil floors are incredibly tough, resistant to scratches, impacts, and daily wear. The epoxy creates a rock-hard surface that protects both the pencils and the subfloor beneath.
Easy Maintenance: The smooth, non-porous epoxy surface repels stains, liquids, and dirt. Cleaning requires nothing more than regular sweeping and occasional mopping with mild cleaners.
Conversation Starter: Guests will be amazed by your pencil epoxy floor. It’s an instant focal point that showcases creativity and craftsmanship while adding significant visual interest to any space.
Cost-Effective Creativity: Compared to high-end custom flooring options, pencil epoxy floors offer remarkable visual impact at a relatively modest material cost, especially for DIY enthusiasts willing to invest their time.
How to Create a Pencil Epoxy Floor
Creating a pencil epoxy floor is a multi-step process that requires patience and attention to detail. Start by preparing your subfloor, ensuring it’s clean, level, and completely dry. Any imperfections will show through the transparent epoxy. Next, plan your pencil arrangement, deciding on color patterns, whether to use full-length or cut pencils, and the overall density of coverage. Purchase high-quality colored pencils in your chosen color palette, along with professional-grade epoxy resin specifically formulated for flooring applications.
Arrange pencils on the prepared surface in your desired pattern, which can be random, gradient, geometric, or any design you envision. Some creators glue pencils down temporarily to hold the pattern during epoxy application. Mix epoxy resin according to manufacturer instructions, being precise with ratios to ensure proper curing. Pour the first layer of epoxy carefully over the pencils, using a spreader to ensure complete coverage and working out any air bubbles with a heat gun or torch. Allow the first coat to cure partially before adding additional layers to build depth and complete coverage.

Apply second and third coats as needed to achieve desired thickness and ensure all pencils are fully encapsulated. The total epoxy depth is typically one-quarter to one-half inch. Allow full curing time, which typically ranges from twenty-four to seventy-two hours depending on the epoxy product used. Finally, apply a final clear coat for added protection and enhanced glossy finish.
Best Rooms for Pencil Epoxy Floors
Pencil epoxy floors work beautifully in various spaces throughout your home or business. Home offices and craft rooms benefit from the creative inspiration these floors provide. Children’s playrooms and art studios embrace the colorful, playful aesthetic. Retail stores, especially art supply shops, bookstores, and creative boutiques use pencil floors to reinforce their brand identity. Classrooms and educational spaces celebrate learning and creativity. Small bathrooms and powder rooms offer manageable project sizes for first-time installers. Accent areas like entryways, closets, or feature walls (yes, this technique works vertically too) provide creative touches without overwhelming commitment.
Design Ideas and Pattern Options
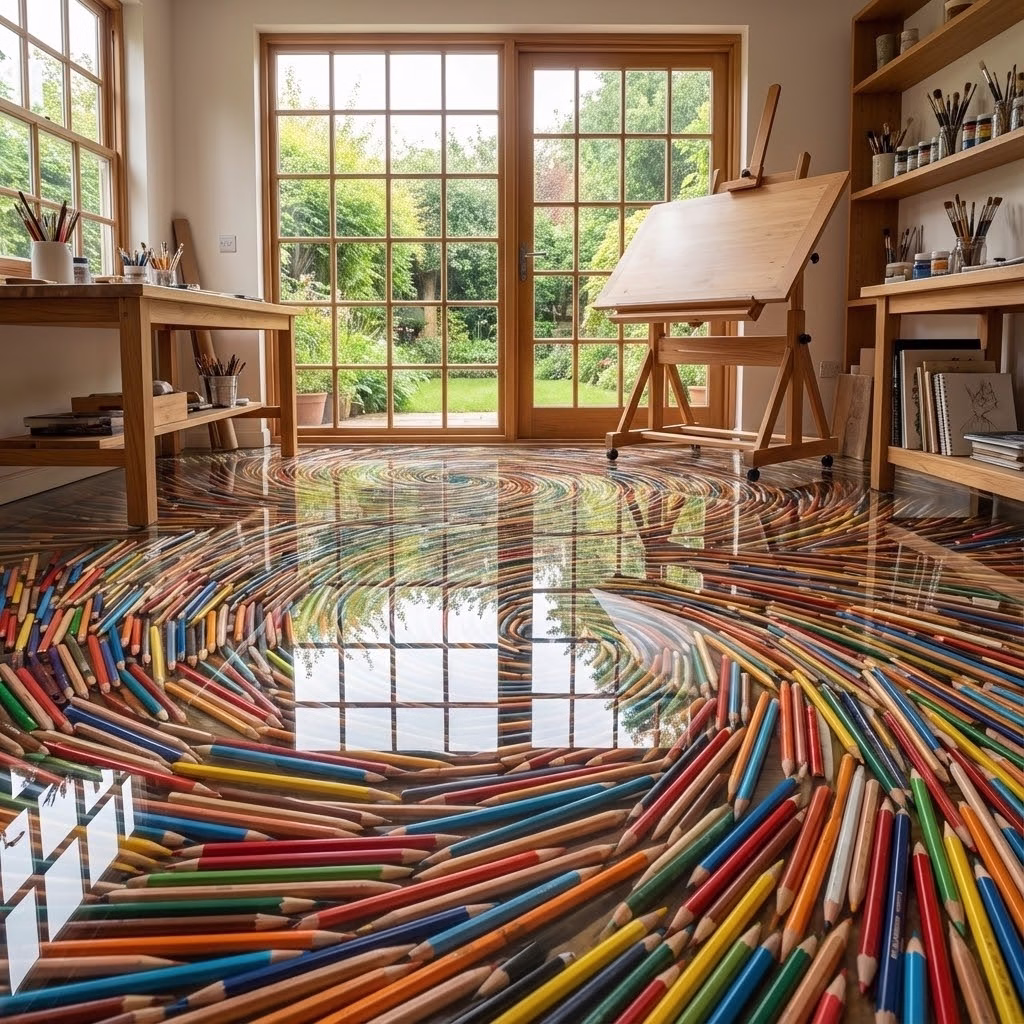
The design possibilities for pencil epoxy floors are virtually limitless. Rainbow gradient patterns transition smoothly through the color spectrum. Geometric designs create stripes, chevrons, hexagons, or concentric circles. Ombre effects fade from dark to light within a single color family. Random scatter patterns offer organic, artistic appeal. Monochromatic schemes use variations of a single color for sophisticated restraint. School-themed designs incorporate primary colors or school colors for educational settings. Custom logos or images can be created using pencils as pixels in larger artworks.
Cost Breakdown for Pencil Epoxy Flooring
Understanding the costs involved helps you budget appropriately for your pencil epoxy floor project. Colored pencils typically cost fifty to two hundred dollars for a small to medium room, depending on coverage density and pencil quality. Epoxy resin is the largest expense at three to seven dollars per square foot for quality flooring-grade epoxy. Supplies including mixing containers, spreaders, protective equipment, and tools add another fifty to one hundred dollars. Professional installation, if you choose not to DIY, ranges from five to fifteen dollars per square foot for labor.
A typical ten-by-ten-foot room DIY project might cost four hundred to eight hundred dollars in materials, while professional installation for the same space could total one thousand to two thousand dollars. Despite these costs, pencil epoxy floors remain significantly cheaper than many high-end flooring options while delivering unmatched visual impact.
DIY vs Professional Installation
Many homeowners successfully complete pencil epoxy floor projects themselves, attracted by the cost savings and creative control. DIY installation works well if you have patience and attention to detail, are comfortable following technical instructions, have adequate workspace and ventilation, and can commit to the multi-day process including prep and curing time.
Professional installation makes sense when you lack time or confidence for DIY, want guaranteed results without trial and error, need large areas completed quickly, or prefer expert color and design consultation. Professionals also carry insurance that protects against installation errors.
Maintenance and Longevity
Properly installed pencil epoxy floors last fifteen to twenty years or more with minimal maintenance. Daily care involves sweeping or vacuuming to remove loose dirt and debris. Weekly cleaning with pH-neutral floor cleaner and damp mop keeps surfaces sparkling. Avoid harsh chemicals, acidic cleaners, or abrasive scru